Rendering bees wax is the hard part, which we will write about another time. That yellow thing next to the coconut oil is the beeswax. The rest of the items in this picture are the other ingredients we used.
 First you take the beeswax and you shred it. You shred it. You shred it, shred it, shred it! This isn’t easy. It might look like it is as easy as shredding cheese in this picture, but it actually feels like you are shredding a brick.
 Next, you mix in some of the oils with the beeswax, and you melt it in a double boiler until it is pure liquid. If you are feeling risky, you don’t have to use a double boiler. However, if you aren’t careful, and it actually starts boiling, hot oil shooting out at you can not only be painful, but also a serious pain to clean up. We’ve done that before, and it wasn’t pretty.
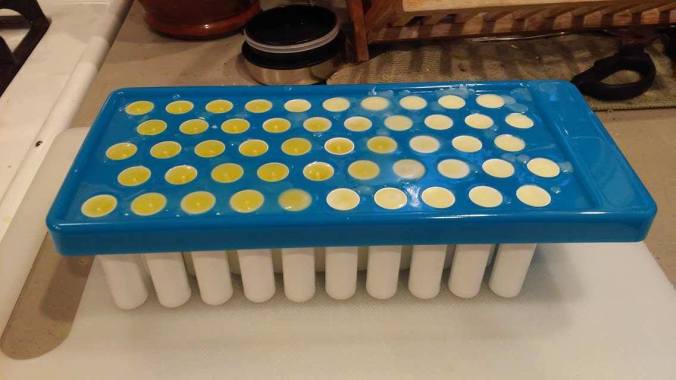
 We’ve tried several methods of pouring this hot concoction into lip balm tubes. With some 6th grade students, we tried using a beaker from science class. We tried using a teeny tiny funnel that was special ordered. Both of these ideas were effective but messy. Finally we discovered the beauty of little disposable pipettes. We also found this cool contraption you see on top of the lip balm containers. This holds them all in place so that they can cool down easily without accidentally knocking them over while being clumsy.
 After it dries, we cap and label them. Then we sell them for $3.00 each, or 2 for $5.00 if we are feeling saucy.


Interesting Fact: Trial-and-Error, with an emphasis on error, is what beekeeping is all about.
